
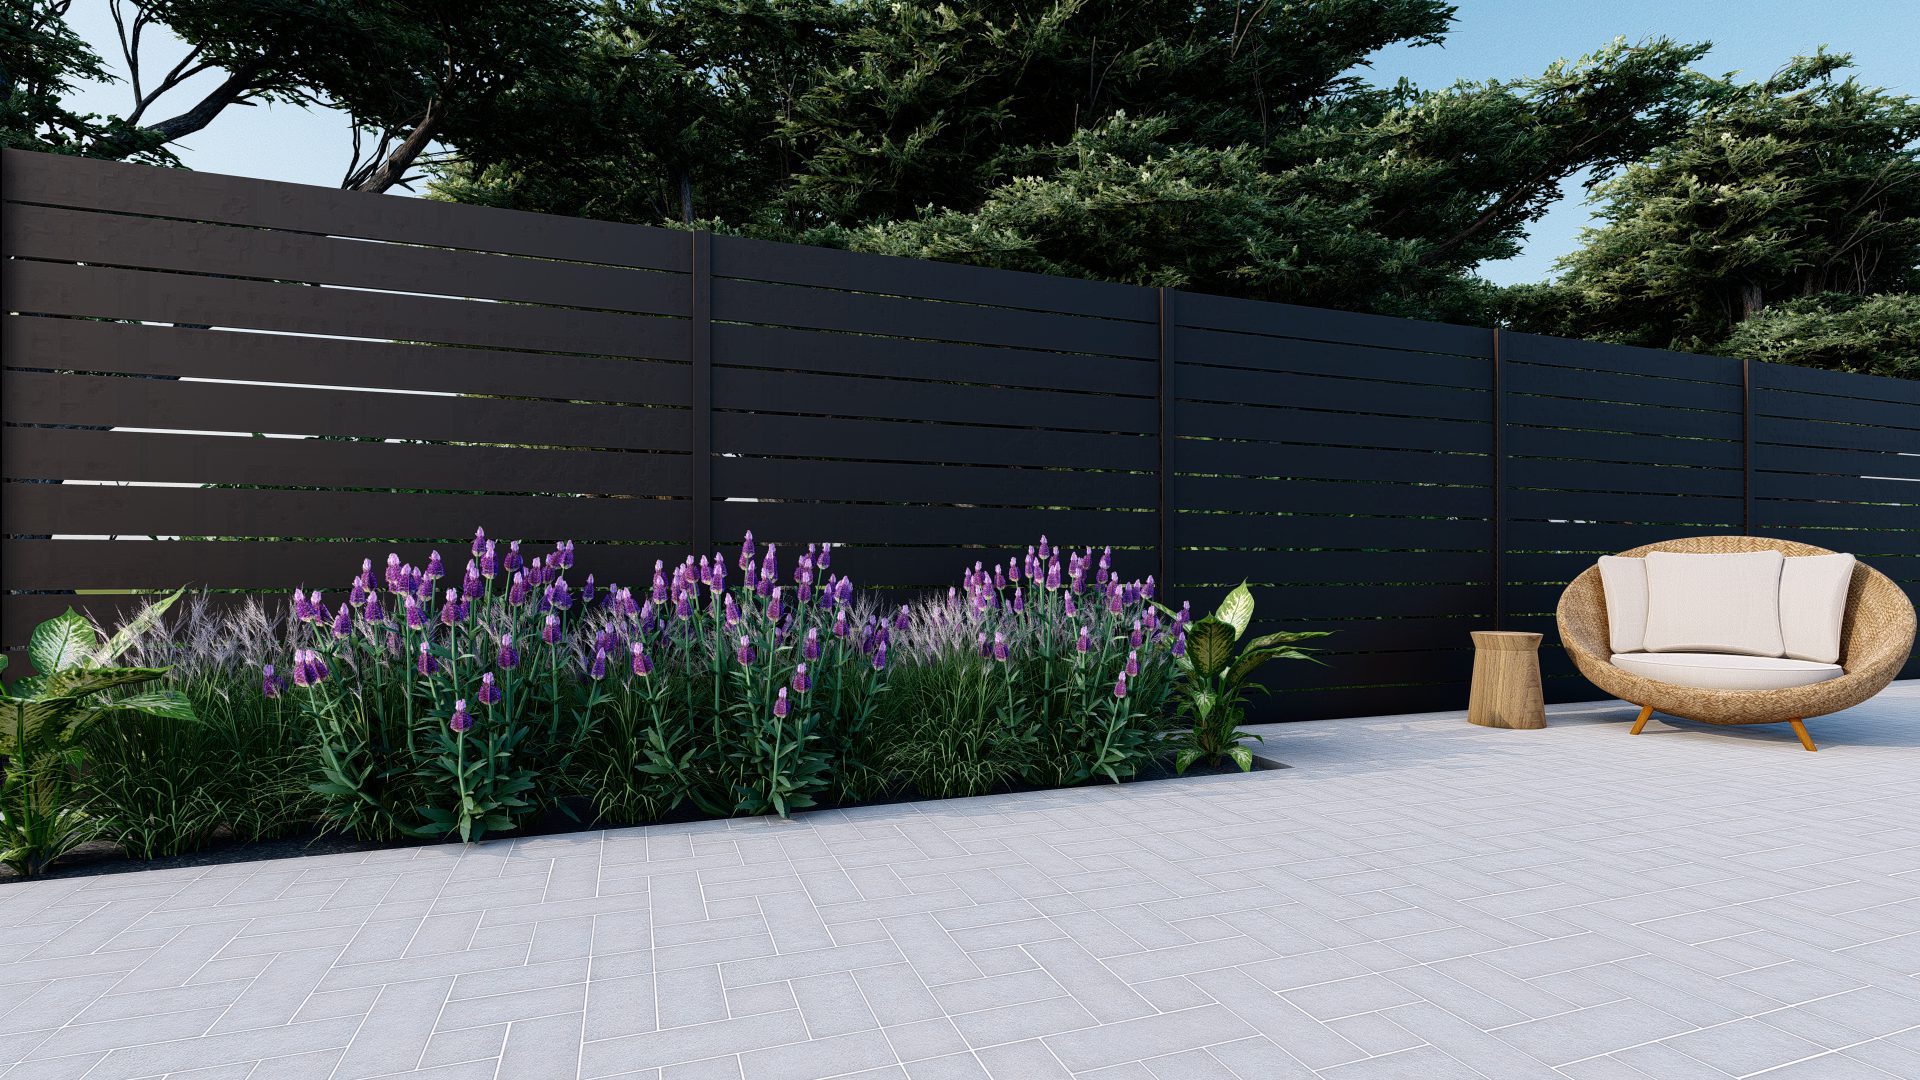
Fence Installation
in Sydney
Hire our trusted fencing builders to install your steel fence in Sydney. MRA Outdoor Living is one of the most trusted contractors when it comes to fencing in Sydney.
Continue scrolling to see our fence installation process. We value our customers and provide excellent service from assessment to aftercare.
For enquiries, ask us thru chat or call 0404 566 568.
Free Quote & Consultation
Our Fence Installation Process
At MRA Outdoor Living, we follow a 5-step installation process. We'll keep you informed about our progress every step of the way.
Consultation & Expert Advice
The first step towards choosing a fence is determining what exactly you need. Our experts will help you determine the design, style, and colour palette of your pool or patio fencing.
Quote & Estimate
Next, we'll wait for you to accept the quote. All of our quotes are obligation-free and we encourage clients to take their time. We want you to love your new fence and feel confident about your decision.
Order Materials
Next, we'll order all the materials required to build your custom fence. Keep in mind, this part of the process can take a while depending on the materials we're after. However, we're committing to providing you with a premium, high-quality fence that looks like it's simply an extension of your current home. In other words, it's worth the wait to get the right materials.
Installation Date Booked
Once the materials have arrived, we'll book in an install date that's convenient for you.
Begin Installation
Then, the installation will begin and, in most cases, the installation process only lasts 7 days from start to finish. That's right... you'll have your new stunning custom fence in only a week!
Aftercare
Once your fence is ready, we'll complete an aftercare follow-up to make sure you're fully satisfied as well as a site clean-up. After all, no one wants their home to look like a construction site. So, don't worry — we'll take care of the mess.

Let's Build Your Fence In As Fast As 7 Days
On-Site Measurement And Fence Estimate
- AU Building Code Compliant
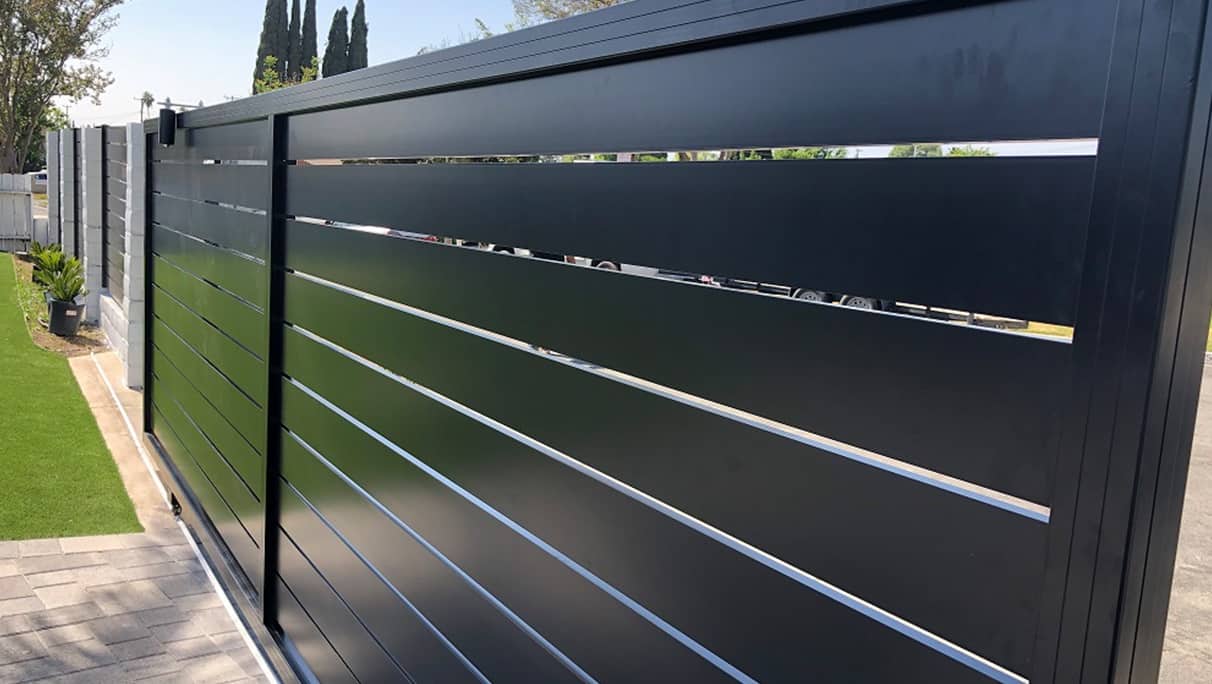
- Custom Fence Designs
- Fence Warranty
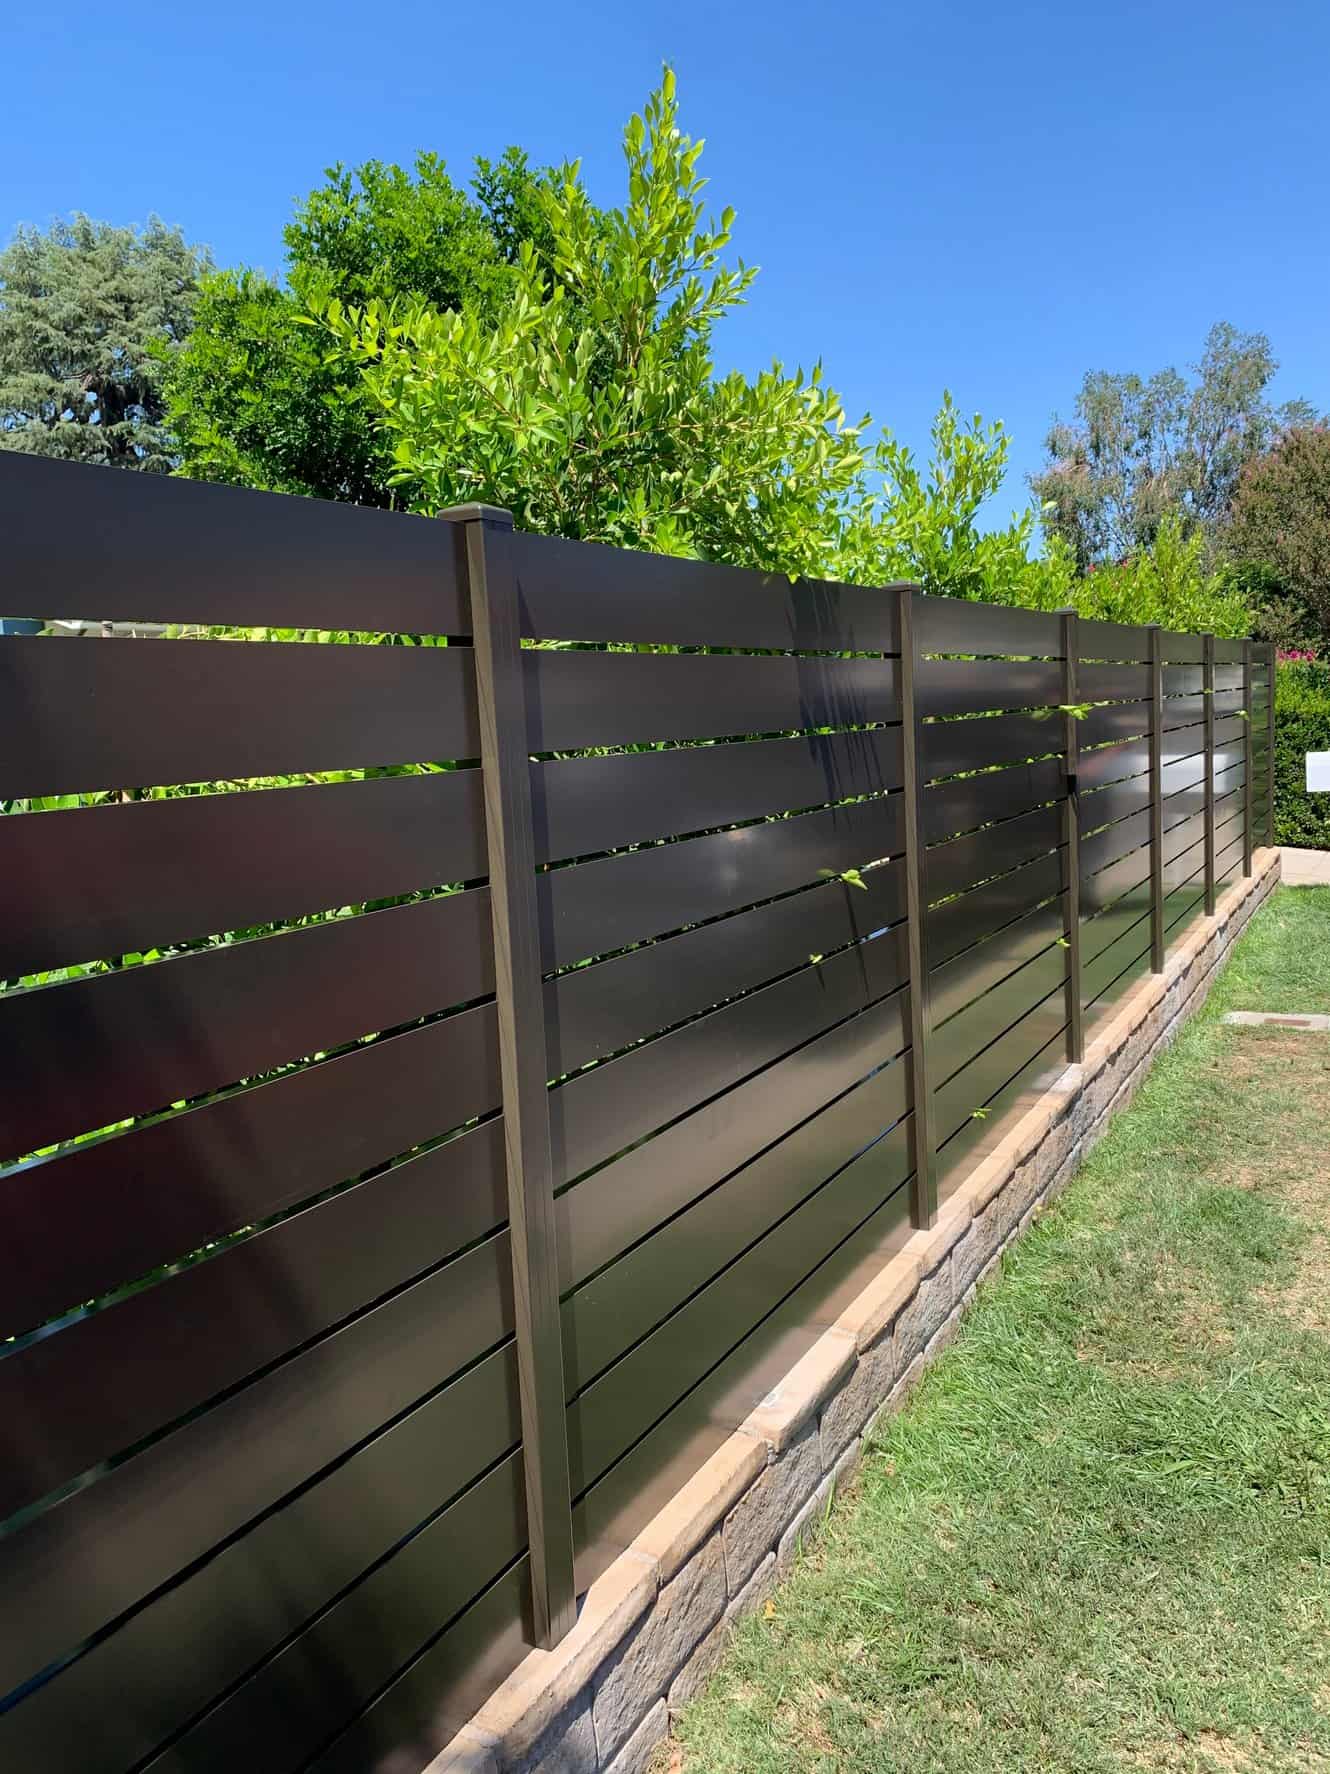
- High-Quality COLORBOND® Steel Fence
- Aftercare Services
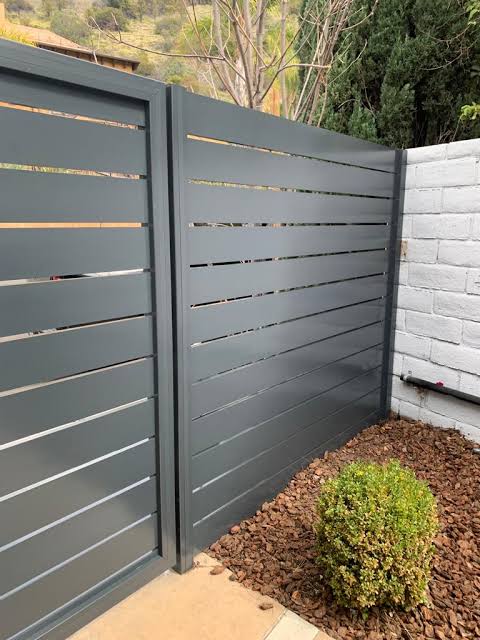
- Durable and Economical Aluminium Fence
Frequently Asked Questions
You should contact a fencing contractor in Sydney if you are not up to the task of DIY-ing a COLORBOND® fence yourself, especially if your terrain is uneven. Make sure that they are qualified for the job by checking the following:
- Licenses or certifications
- Insurance
- Project timeline
- Written quote
- Character or job references
- Previous work
It is also a good idea to shop around and get at least three quotes from local fence builders. This will give you some options to choose from and you can compare their packages. After that, you can choose who you believe is the best fit for your position.

We'll come to your property and take measurements. Contact us today to get started!
How To Install A Fence

Here Is The Step-By-Step Process On How To Install A Fence In Sydney
Step 1: Check Sydney regulations
Take the time to find out what regulations may apply where you live before you start your fencing project. Installing fencing may require a separate license in some areas, or it may be covered by another license. Here are some of the Sydney fencing regulations you should know about:
- Metal fencing must be installed by someone who holds a metal fabrication, carpentry, or builder's license.
- Fencing must be structurally solid, installed according to manufacturer's requirements, and adhere to the Australian Building Code (BCA).
- If you're building a new fence or replacing an old one that divides your property from your neighbor's, it's crucial to notify them of your plans and familiarize yourself with the Dividing Fences Act 1991.
- A residential fence should not exceed 1.8 meters in height as a general rule.
- Metal fence materials must be low reflective and factory pre-coloured.
Step 2: Get the necessary measurements.
To begin, measure and mark the area where your fence will be installed. You'll be able to figure out how many COLORBOND® steel panels, posts, and caps you'll need for your project this way. If you don't do it correctly, you can end up buying too many or too little amount of materials.
Step 3: Gather your supplies.
First, let's make sure you have the right materials for this job. These are what you're going to need:
- (2) Square posts
- Standard fence posts (2 per fence panel)
- Infill sheets (3 per fence panel)
- Bottom rails
- Top rails
- Post hole digger
- Concrete mix (2 bags per post hole)
- Wheelbarrow
- Set-out paint
- Drill and bits
- Self-tapping screws
- Stringline
- Magnetic spirit level
- Tin snips
- Safety glasses
- Hammer
- Spirit level
- Tape measure
- Shovel
Step 4: Start digging the post holes.
Laying down posts for a COLORBOND® steel fence is simple. Your fence posts must be spaced according to the width of your panels, so space the two post holes accordingly. Make sure there are no pipes or utilities beneath your fence line before digging to avoid any accidents. After you've determined that the space below is free, dig your post holes while taking into account the hole's depth and capping. Your post must be perfectly plumb, otherwise your fence will not line up correctly.
Step 5: Place the posts and make sure they're level.
Insert a pole into the hole using the spirit level. Have your helper keep it in place. Mix the instant concrete and pour it in. Since instant concrete dries quickly, you must work swiftly. Let this dry before proceeding to the next step.
Step 6: Install rails and panels.
After you've installed your posts, you can proceed to installing the bottom rails. The COLORBOND® steel fence panels are slipped into this. This should, in theory, leave little to no gap with the ground. Each rail must be absolutely parallel to the next. Even on level terrain, this is difficult to achieve, but on a sloping block, it is a work for experts only. The panels will be screwed or bolted into position on the fence rails. Install the top rail after sliding the panels into place.
Step 7: Finish off by installing fence capping.
After all of the panels are in place, you can finish the task by installing the fence capping, which secures the panels and completes the operation. Check the fence one more time and make sure everything is in order.
How To Install A Fence On A Slope
Whether you need a fence for a residential, commercial, or industrial property, we can help. We can provide you with a free fencing estimate, no matter how small or big the project is. For your peace of mind, all of our Sydney fencing contractors are completely insured and licensed, and our work is guaranteed to meet your expectations. Chat with us today or call 0404 566 568!
Colorbond fencing is more difficult to install on a hill or slope than it is on a flat area. You have two options when installing a fence on a slope:
- A stepped look
- A sloped look
Stepped fence
All panels run parallel in a stepped design, with the top and bottom borders resembling a staircase. The gap between the earth and the railing will be much more obvious at one end because the ground is at an angle. This may be acceptable in some circumstances, but it will not provide the security you require if you have a little dog, for example.
Sloped fence
Because of the slope, the panels will not all be parallel, with some angled at a specific degree angle. Panels must be cut to meet the changed shape and size of the gap in order to deal with this. If you've never done something like this before, you might want to employ an expert.
30+ Years Experience Building Contractors
Services
Below is a list of our main services. We customise, design, and build your dream carport, fence, deck, awning, pergola or patio roofing.
Residential Carports
Commercial Carports
COLORBOND® Carports
Insulated Patio Roofing
COLORBOND® Fence
Deck & Fencing
Custom Carport, Patio Roof and Fencing Designs
Talk To Us!
Call our team
0404 566 568
Write a message
sales@mraoutdoorliving.com.au